
Start With the Exact Area You Want Covered
Before you measure, decide which surfaces are part of the job and which are not. A simple patio might be one rectangle, while a larger deck can include steps, cut-outs around posts, drainage gaps, planters or a built-in bench. If you are replacing an old timber deck, measure the full footprint of the structure not only the boards you can see, because the frame and finishes can affect the final material take-off.
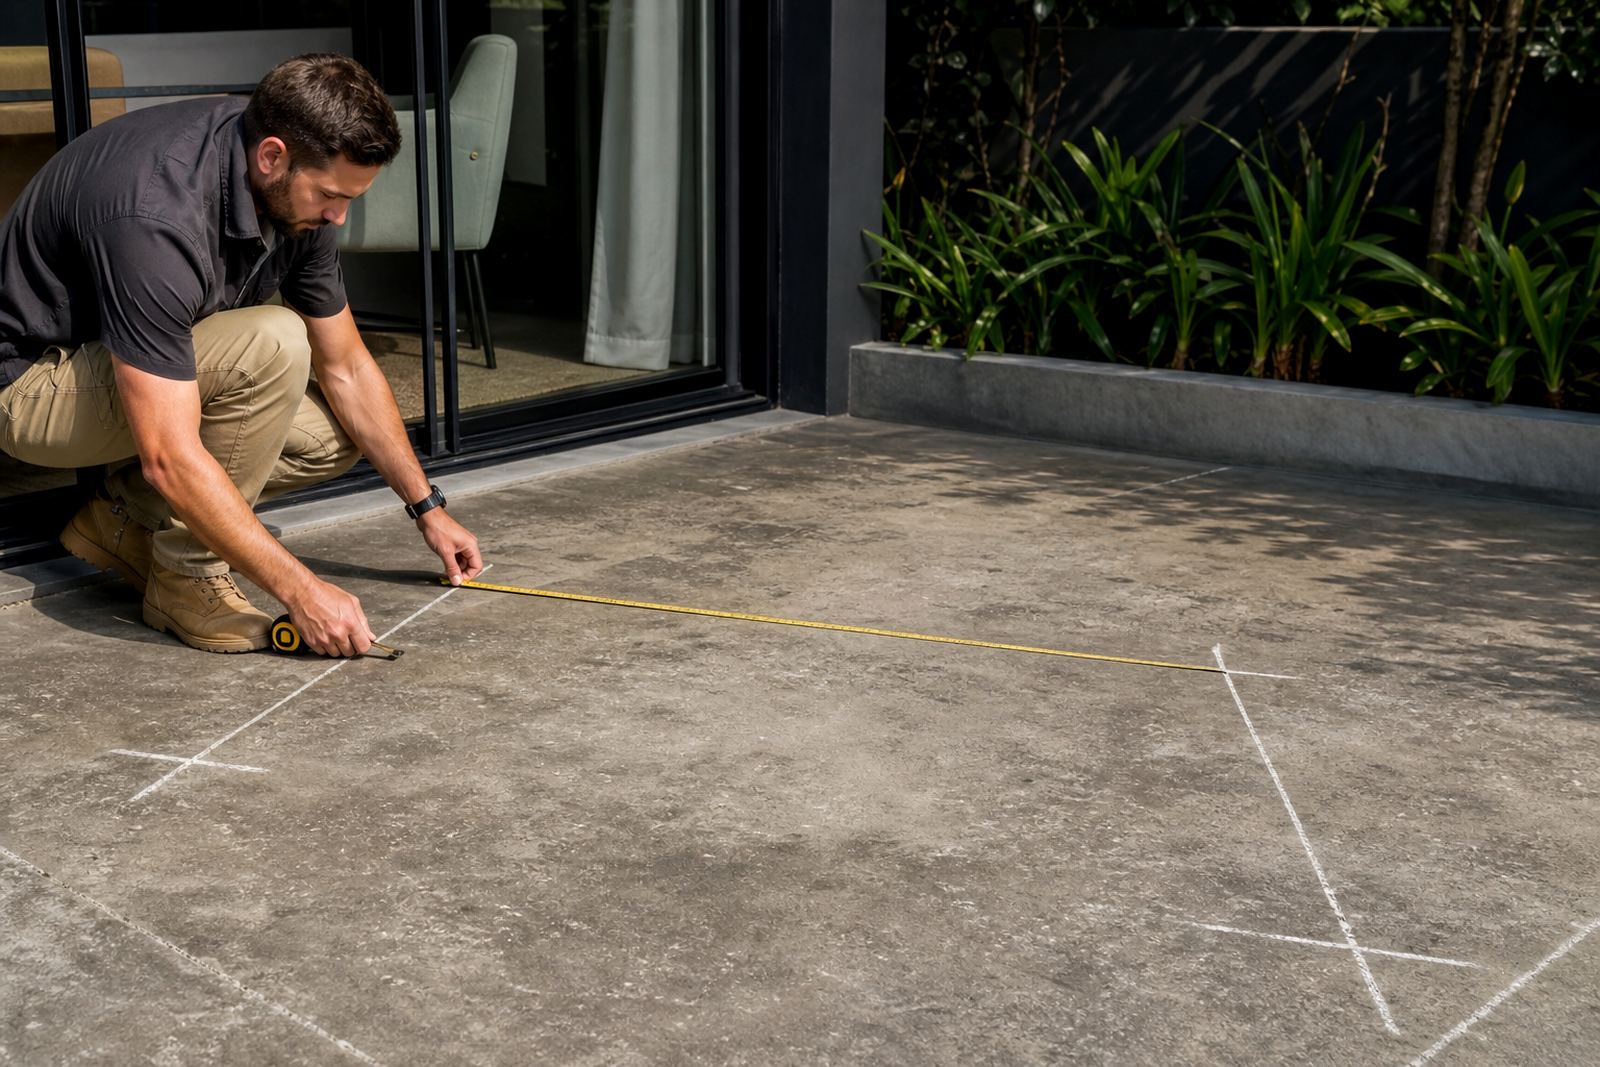
Use a steel tape measure or a laser measure if you have one. If the area is uneven, take measurements in more than one place and note the smallest and largest points. In coastal areas like Cape Town, Somerset West and George, existing timber may swell, twist or soften over time, so do not rely on guesswork. A clean sketch with rough notes is often enough to start the quoting process.
- Measure the full length and width of each section
- Mark fixed items such as poles, drains, trees and manholes
- Note if the surface is square, L-shaped or stepped
- Record any changes in level between sections
Measure Length, Width and Any Separate Sections
Work section by section. If your deck has more than one shape, split it into simple rectangles or triangles and measure each part separately. For example, one area may be 4,2 metres by 3,6 metres, while another may be a narrow walkway leading to a braai area. Write every number down clearly, then add them together for the total area. This helps avoid confusion when we prepare material quantities and delivery planning.
If the deck sits around a pool or against a wall, measure right up to the edge where the decking will finish. Include overhangs only if the finished deck surface will cover them. For benches, measure the available space for the seat as well as the depth and height if you already know where it will go. If you are not sure, send a photo with your measurements and we can assist through the enquiry form.
- Measure in metres and centimetres if possible
- Write down each section on a rough sketch
- Check the same line twice from both ends
- Note access points for materials and installation
Check Height, Access and Edge Details
Area size is only part of the picture. We also need to know how high the deck is off the ground, where the access points are, and what edge finishing is required. A deck in a backyard in Bellville may be straightforward to reach, while a rooftop or raised platform in Johannesburg can need more planning for delivery and lifting. If there are stairs, ramps or uneven ground, note them clearly.
Edge details matter too. Some decks stop cleanly at a wall, while others need a neat finish around corners, posts or curved sections. If you want benches, tell us whether they will be free-standing, fixed into the deck or placed against a wall. Small details like these affect layout planning and the material count, so it is worth taking an extra few minutes to record them properly.
- Measure the height from ground to deck surface
- Check for narrow gates, stairs or tight turns
- Note any corners, cut-outs or curved edges
- Record where benches, steps or rails will sit
Use a Simple Sketch Before You Send the Enquiry
A hand-drawn sketch is often the clearest way to explain a site. Draw the outline of the deck on paper, then label each side with measurements. Put a north arrow if it helps, and mark the position of doors, drains, posts and fixed fittings. If the deck is at a home, guesthouse or business premises, add a short note on how the area is used day to day. That helps us work out traffic flow, seating space and any maintenance concerns later on.
Your sketch does not need to be perfect. We just need enough detail to understand the shape and size of the job. A phone photo of the area with a ruler or tape measure in place can also help. If you are based in Paarden Eiland, Stellenbosch, Paarl or Durban, a few clear images with measurements can save time on site visits and help us prepare a more accurate material quote.
- Draw the outline and label each side
- Mark openings, fixed objects and level changes
- Add a note for intended use, like seating or foot traffic
- Include photos from more than one angle
What to Measure for a Bench or Seating Area
If your project includes a bench, measure the length of the wall or space where it will go, then check the available depth and height. For a corner seat, measure both sides of the corner separately. If the bench will be part of a deck area, leave enough space for movement, cleaning and comfortable use. In hot weather and coastal humidity, a practical layout matters because people will use the area more often if the seating is well placed and easy to keep clean.
Also think about what sits near the bench. There may be a planter, railing, braai area or doorway that changes the available space. If the bench will be installed in a commercial setting, such as a lodge, school, restaurant or office courtyard, add notes on foot traffic and how many people the seating should serve. That gives us better context when preparing the layout and component list.
- Measure the full length of the seating run
- Check depth and height for comfort and access
- Leave clearance for doors, walkways and cleaning
- Note whether the bench is straight, cornered or freestanding
Send the Right Details So We Can Quote Properly
Once you have your measurements, gather them with a few extra details before sending your enquiry. Include the town, suburb and whether the site is residential or commercial. If the job is in Cape Town, Stellenbosch, George, Johannesburg or Durban, delivery and installation planning can vary, so location matters. Mention whether you need site measures, deck installation, bench installation, refurbishment, component replacement or just trade support for materials.
It also helps to tell us about the current condition of the space. If there is old timber, loose boards, water damage or uneven support, mention it. Recycled plastic lumber decking and benches are often chosen for areas where low maintenance is important, but the layout still needs to suit the site. When we have the right numbers and notes, we can respond more quickly and avoid back-and-forth later on.
- Town or suburb
- Total measurements and sketch
- Photos of the area
- What service you need: quote, delivery, installation or refurbishment